Easter crafting
I'm not a crafter - or any good at making things! So when the kids come home with the dreaded Easter Egg/ Hat competition from school my heart plunges.
For many years we have been making Easter Hats - well when I say making I buy hat and bits from local shop, hand the children glue, sellotape etc and let them craft away!
They never win - not that they mind but they never do!
So this year after proclaiming last year that I'd never make a hat again, I decided to be brave and make Easter eggs.
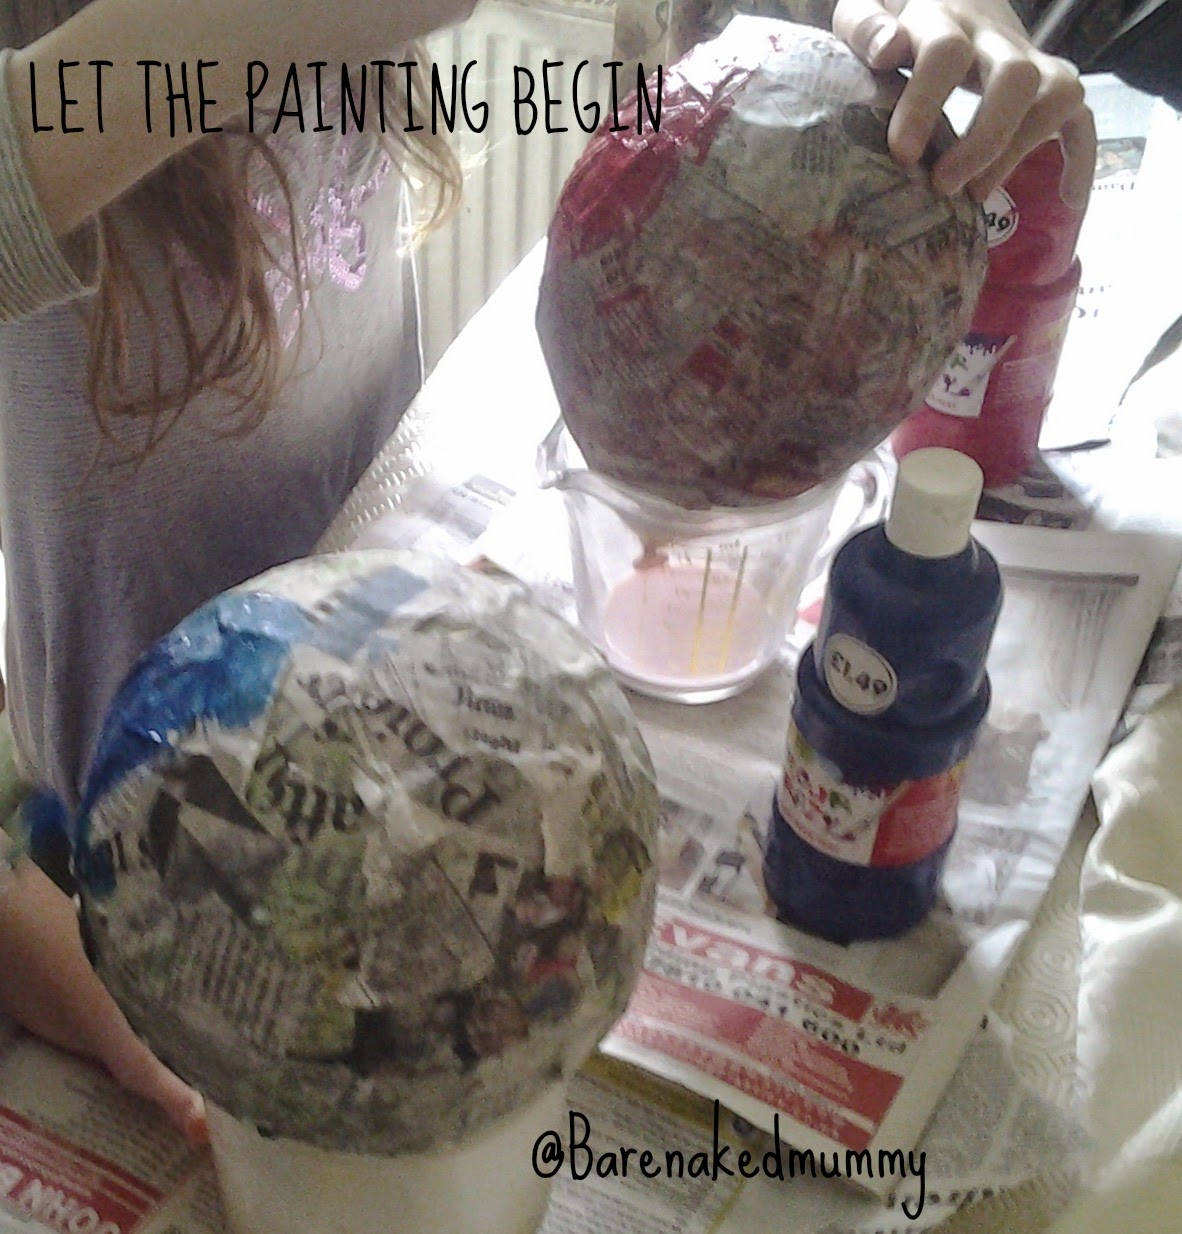
So after checking the paper mache recipe (2 parts PVA glue to 1 part water) and buying balloons we started to rip and glue. Now after realising that the balloons didn't want to stay anywhere near the table we had to improvise with a jug each as a stand. We also did one layer newspaper, then one layer tissue paper and then one layer newspaper again.
Then after waiting 2 days - we started painting:
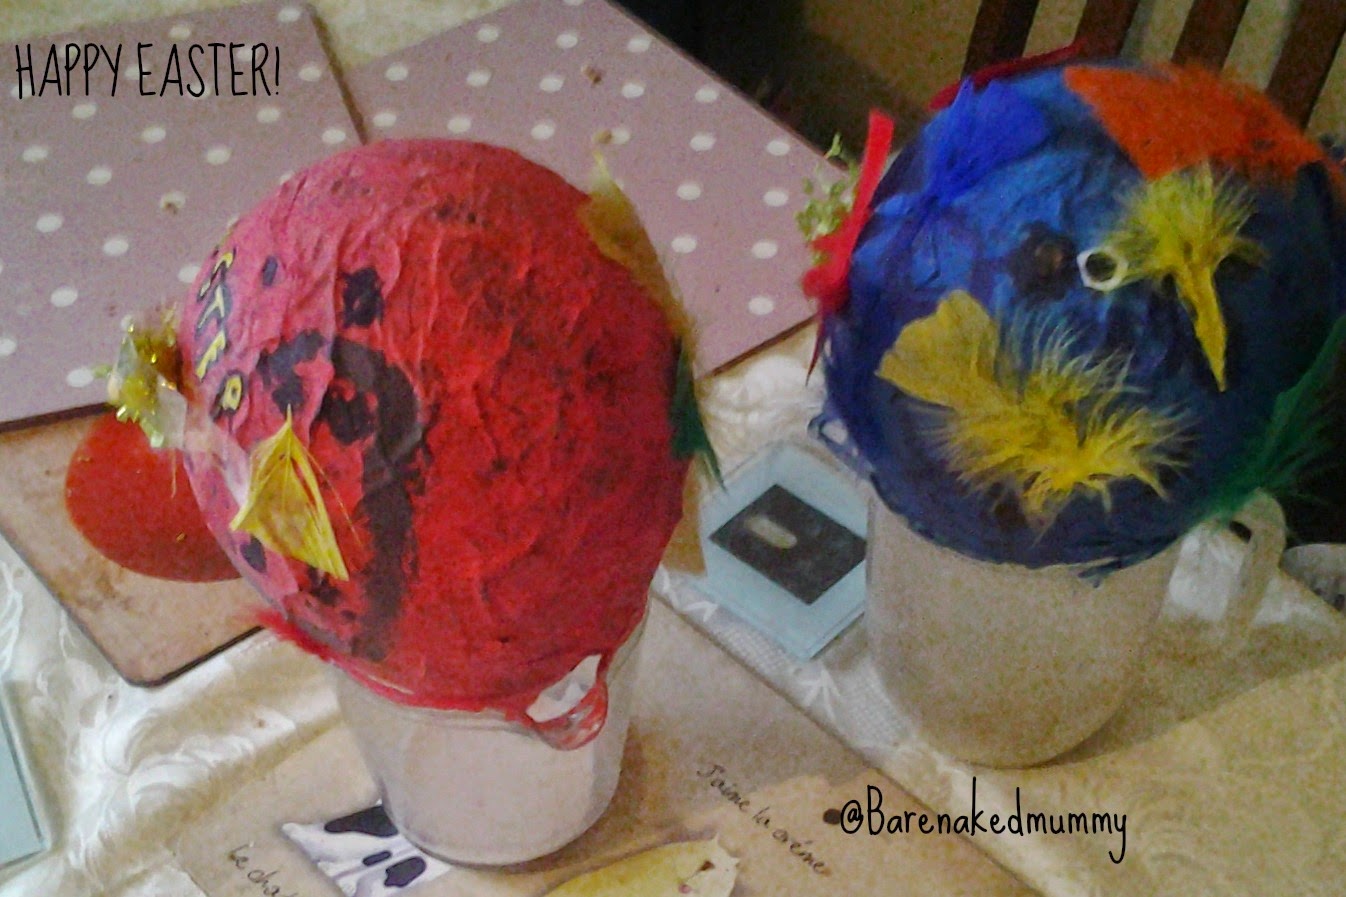
The girls loved painting the balloons and then when that had dried they started with the decorating. I gave no help just pointed them to the glue and the art jar.
The girls were very proud of their Easter creations and so off they went with them to school.
Again, though as usual they didn't win but that maybe due to parents doing work for their kids (don't get me started!!)
Anyway - if your looking for a craft to keep the kids going over Easter then this could be something that would make a great gift for grandparents etc
You will need
1 balloon per child
Lots of old newspaper or paper - cut up into strips
Glue - 2 parts of PVA Glue to 1 part Water (or you can use Wallpaper paste)
Layer the newspaper on the balloon - this is a messy bit and it may be advisable to give the child a pot each and not like in our house where they shared the glue! Cover the balloon in newspaper. Add second layer ( we used a different kind of paper for this so that we could differentiate the layers). Then add third layer. Ensure that the paper is stuck flat down otherwise you'll have a lumpy surface to paint. You can do this with a paintbrush but glue covered fingers work just as well!
Let the paper mache dry. This took us 2 days, but Neb says that you could use a hair dryer to dry it too if need be.
Then paint and decorate to your heart content!
BNM

